Containerization of 3-tier Application
Docker, Docker-Compose, MySQL, Tomcat, Nginx, Docker-Hub

Passionate about helping organizations build scalable infrastructure and DevOps solutions with cloud technologies. Experienced in designing robust systems, automating processes, and driving efficiency through innovative cloud solutions. Advocate for best practices in DevOps and cloud computing, committed to enabling teams to achieve their full potential.
Project Overview
In this project, we'll containerize a Java-based multi-tier web application. Here we'll containerize each of the services that are being used such as Nginx, MySQL, Tomcat, etc which will help us reduce resource usage. Further, we'll launch those containers using Docker Compose and test them.
Architecture
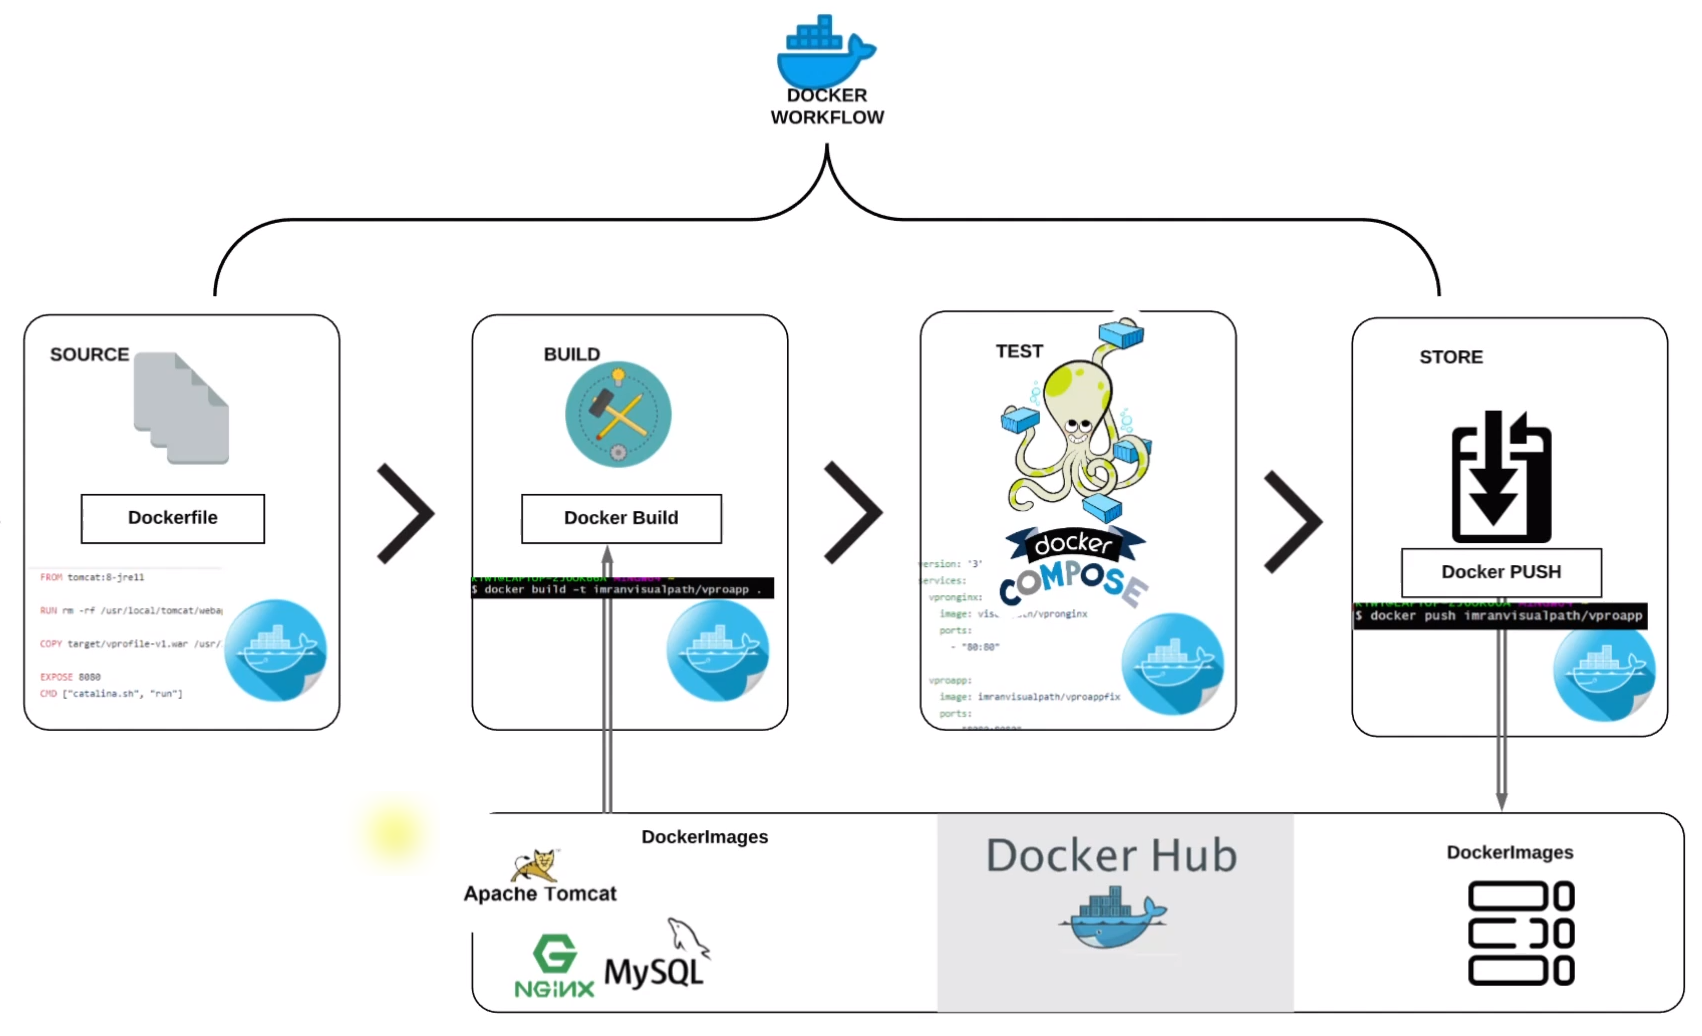
We'll fetch the project source code from Git Hub.
Write the docker file for customizing the base images as per our project requirement. Base images will be pulled from the Docker Hub
Build the image using the
docker buildcommand for Tomcat, MySQL, and Nginx.Once images are built we'll test them on Docker composed by the docker-
compose.yaml fileAnd then after verification we'll push the docker images to our image repository on Docker Hub.
Docker File for Services
Here to minimize the image size we'll write multi-stage docker files. In a multi-stage docker file, we separate the base image from which the main container image inherits only the minimum required dependencies reducing the size of the main image.
Docker File for Tomcat
FROM openjdk:11 AS Build_Image

RUN apt update && apt install maven -y

RUN git clone https://github.com/ritesh-kumar-nayak/vprofile-project-forked.git

RUN cd vprofile-project-forked && git checkout docker && mvn install


FROM tomcat:9-jre11

LABEL project="Vpro"
LABEL Author="Ritesh"

RUN rm -rf /usr/local/tomcat/webapps/*
COPY --from=Build_Image vprofile-project-forked/target/vprofile-v2.war /usr/local/tomcat/webapps/ROOT.war

EXPOSE 8080
CMD [ "catalina.sh", "run" ]
Build Stage (
Build_Image):Use the OpenJDK 11 base image.
Update package information and install Maven.
Clone the Git repository.
Change to the cloned repository directory.
Switch to the
dockerbranch using Git.Build the project using Maven.
Tomcat Stage:
Use the Tomcat 9 image with Java 11.
Remove any existing content from Tomcat's webapps directory.
Copy the built WAR file from the
Build_Imagestage to the Tomcat webapps directory.
Expose Port:
- Expose port 8080 for the Tomcat server.
CMD:
- Set the command to start the Tomcat server using
catalina.shrun.
- Set the command to start the Tomcat server using
Docker File for MySQL
FROM mysql:8.0.33
LABEL project="Vpro"
LABEL Author="Ritesh"

ENV MYSQL_ROOT_PASSWORD="vprodbpass"
ENV MYSQL_DATABASE="accounts"

ADD db_backup.sql /docker-entrypoint-initdb.d/db_backup.sql
Base Image:
- Use the official MySQL 8.0.33 image as the base image.
Labels:
- Define some labels to provide information about the project and author.
Environment Variables:
Set the root password for the MySQL instance to "vprodbpass".
Set the name of the default database to "accounts".
Add SQL File:
Add a SQL file named
db_backup.sqlto the/docker-entrypoint-initdb.d/directory inside the container.This SQL file will be executed when the container is started for the first time, populating the database with initial data.
Docker File for Nginx
FROM nginx
LABEL project="Vpro"
LABEL Author="Ritesh"

RUN rm -rf /etc/nginx/conf.d/default.conf

COPY nginvproapp.conf /etc/nginx/conf.d/nginvproapp.conf
Application Configuration
upstream vproapp {
 server vproapp:8080; #we have to run container with this name in Docker Environment and Service in K8S environment
}
server {
  listen 80;
location / {
  proxy_pass http://vproapp;
}
}
Docker Compose
Now we'll test our multi-container setup locally using docker compose. Just like the way we can create multiple virtual machines using a single Vagrant file, Docker Compose does the same job for containers. In a single file named docker-compose.yaml We can place all our container configurations, build the image, and run them simultaneously.
version: '3.3'
services:
  vprodb:
    build:
      context: ./Docker-files/db
    image: ritesh1999/vprofile_db
    container_name: vprodb
    ports:
      - "3306:3306"
    volumes:
      - vprodbdata:/var/lib/mysql
    environment:
      - MYSQL_ROOT_PASSWORD:=vprodbpass


  vprocache01:
    image: memcached
    ports:
      - "11211:11211"
  vpromq01:
    image: rabbitmq
    ports:
      - "15672:15672"
    environment:
      - RABBITMQ_DEFAULT_USER=guest
      - RABBITMQ_DEFAULT_PASS=guest

  vproapp:
    build:
      context: ./Docker-files/app
    image: ritesh1999/vprofile_app
    container_name: vproapp
    ports:
      - "8080:8080"
    volumes:
      - vproappdata:/usr/local/tomcar/webapps

  vproweb:
    build:
      context: ./Docker-files/web
    image: ritesh1999/vprofile-web
    container_name: vproweb
    ports:
      - "80:80"

volumes:
  vprodbdata: {}
  vproappdata: {}
Build & Run
Here we have listed all the docker files in one place and built it using docker-compose build
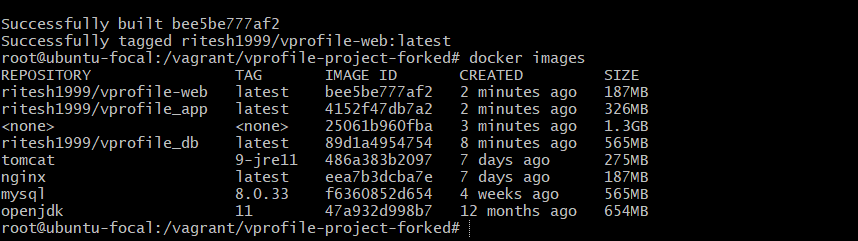
As we have built the images now, we can start the container by docker-compose up -d

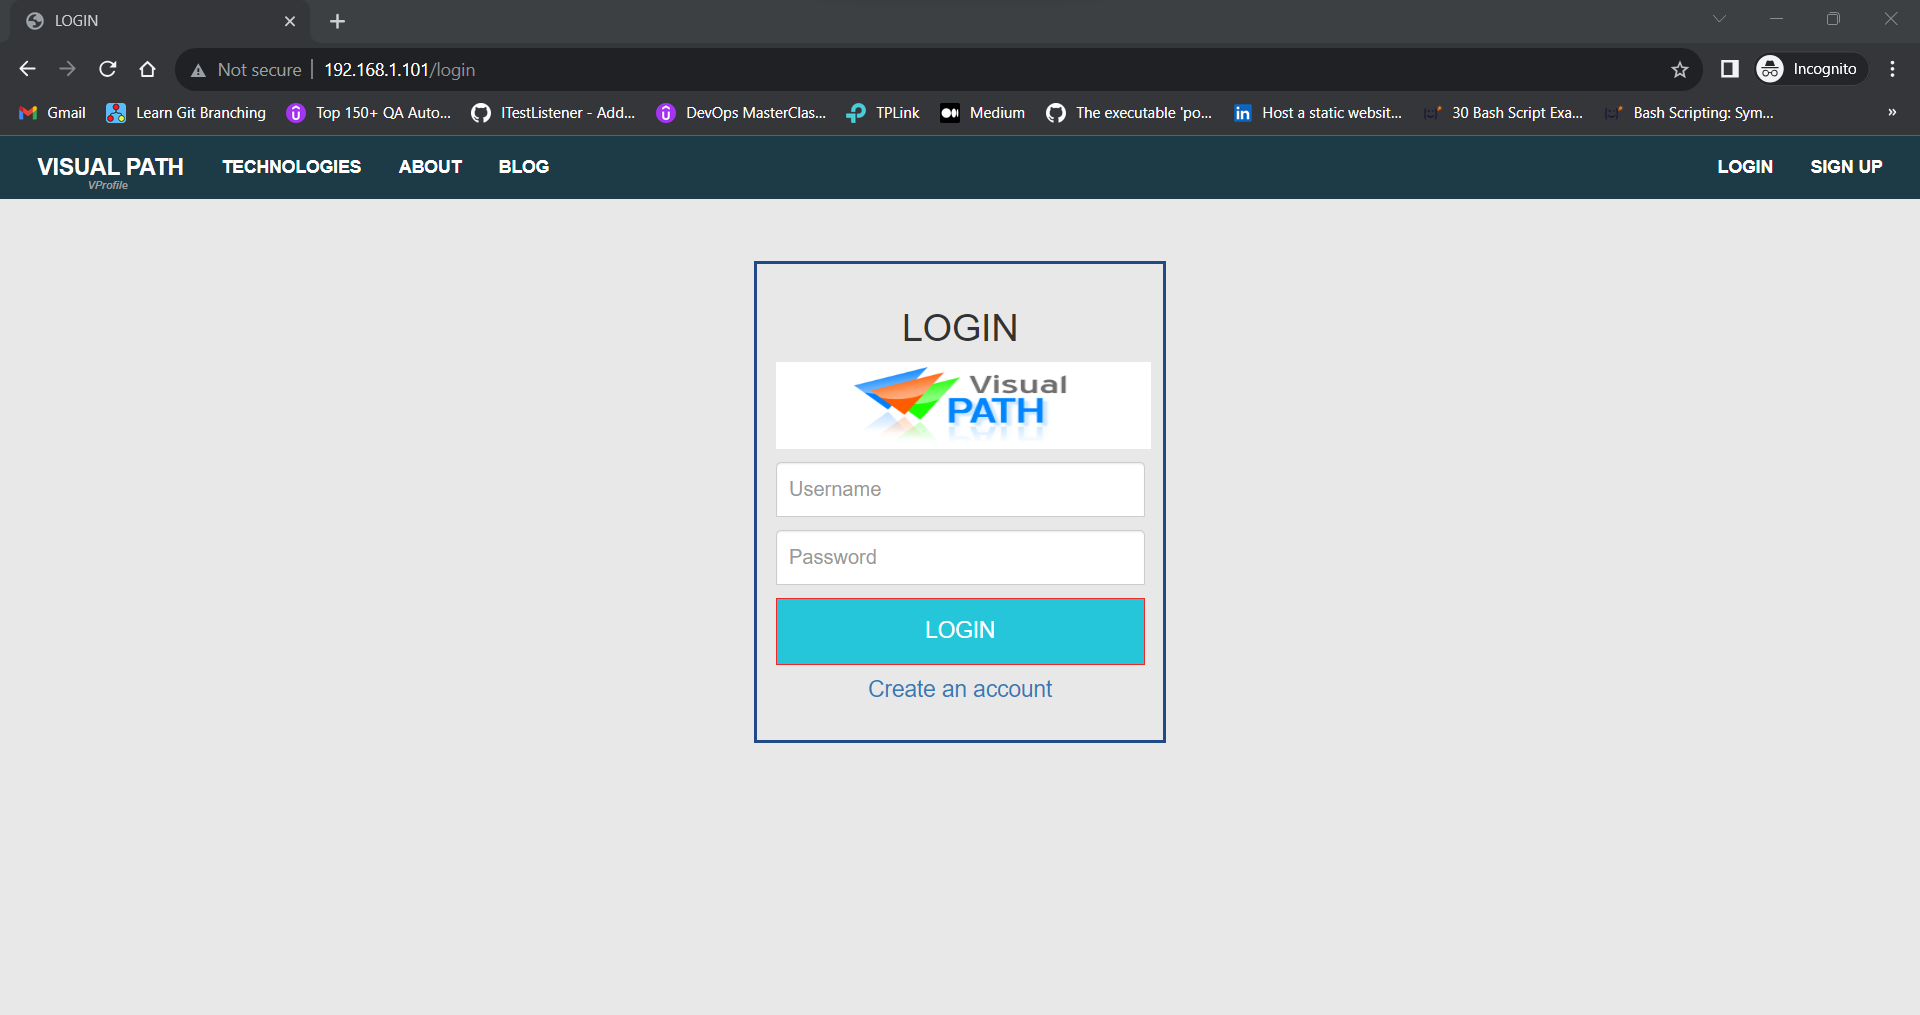
Now with the command ip addr show We found out the host IP and were able to access it:

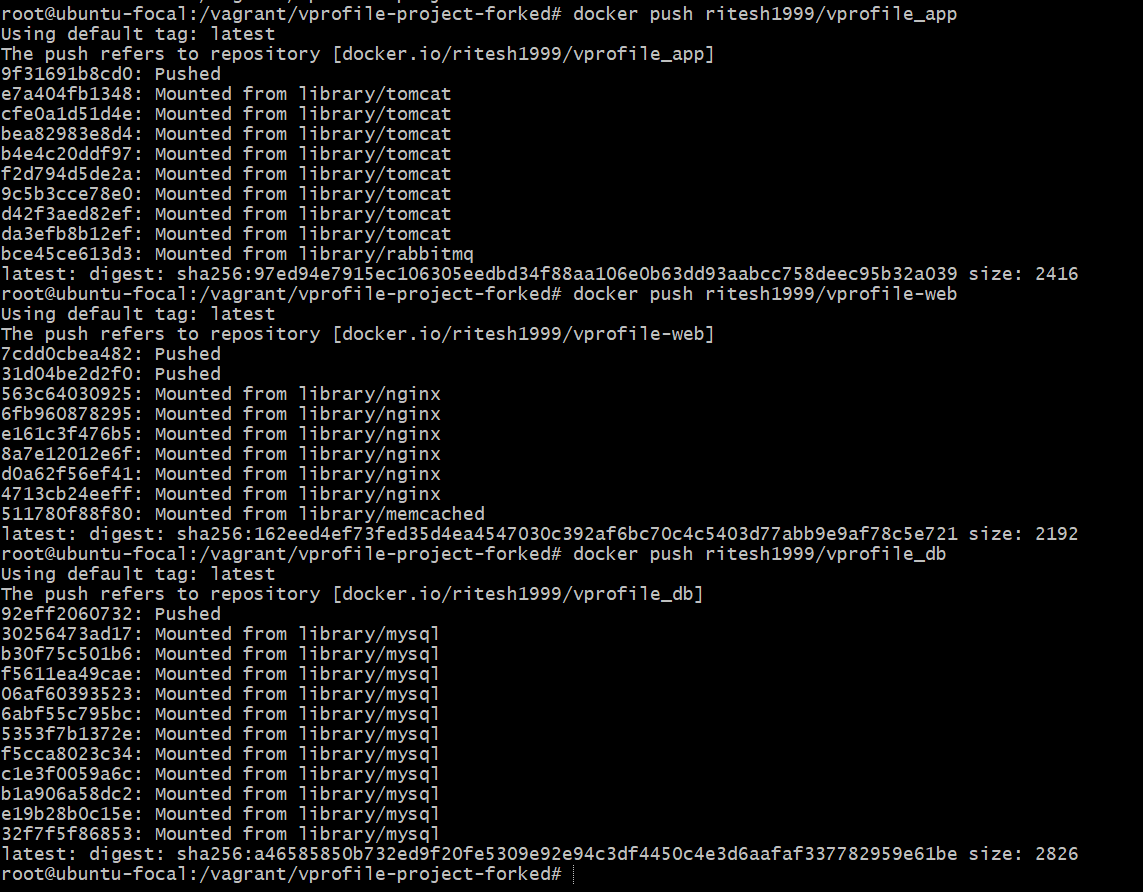
Pushing the Images to DockerHub
Login successful

Now we can push the images by docker push <image_name>
Stopping the Containers
Now, we can stop the container by docker-compose stop and docker-compose rm container_name
OR
We can use docker-compose down to stop and remove it in a single go.
AND we can also remove the images by docker system prune -a
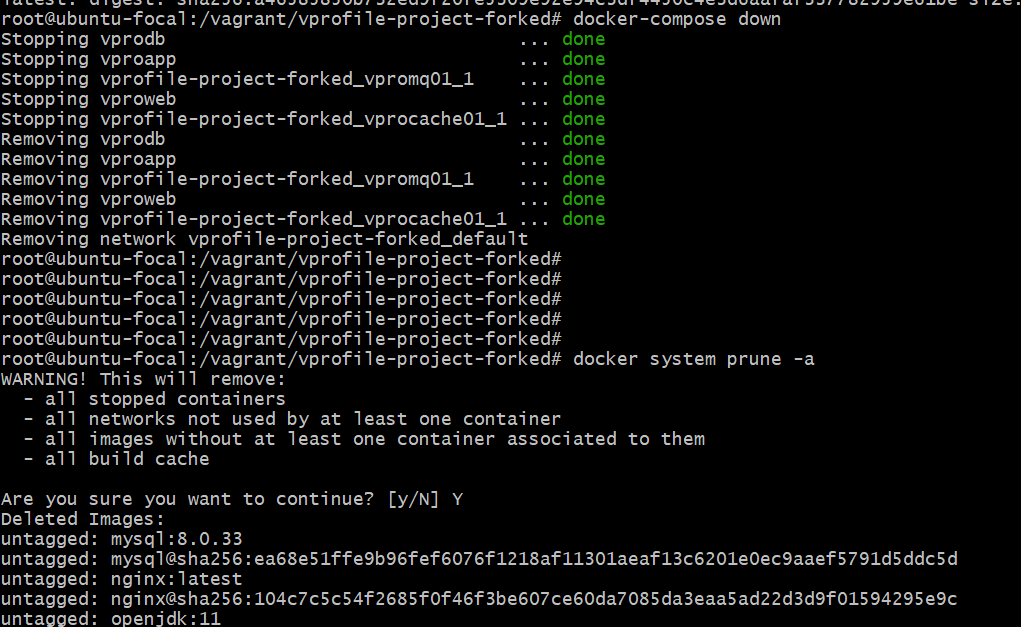
Now we have completely cleaned up our system.